Secure, Automated Backups with Amazon S3 and Deja-Dup
Background
After setting myself up with a new computer a few months ago, I decided to finally configure automated backups of the data important to me. Cloud storage services can be incredibly cost-effective for this, require less hassle than Network Attached Storage, are inherently off-site and often make use of extra data redundancy. So these services seem like decent tools to use for backups.
Amazon Web Services (AWS) offers one such storage solution under the name of S3. Rates are typically around $0.01 / GB / Month for infrequently-accessed data. Google offers a competing platform with similar pricing, but I chose to use S3 as it's been around longer so more programs integrate well with it.
Duplicity, and its GUI program, Deja Dup, provide a way to use either service for incremental backups and also give the option to encrypt this data using a secret passkey that only you (and not the service storing your data) possess. Deja Dup is a linux-only program, but the command line Duplicity tool can be used on other platforms with some extra effort.
In configuring Deja Dup to backup my home directory to AWS, I was dissappointed by the lack of documentation out there. What follows is a step-by-step tutorial on how to configure AWS and Deja Dup to work together.
Configuring an AWS User
First, sign up for an amazon AWS account if you don't have one:
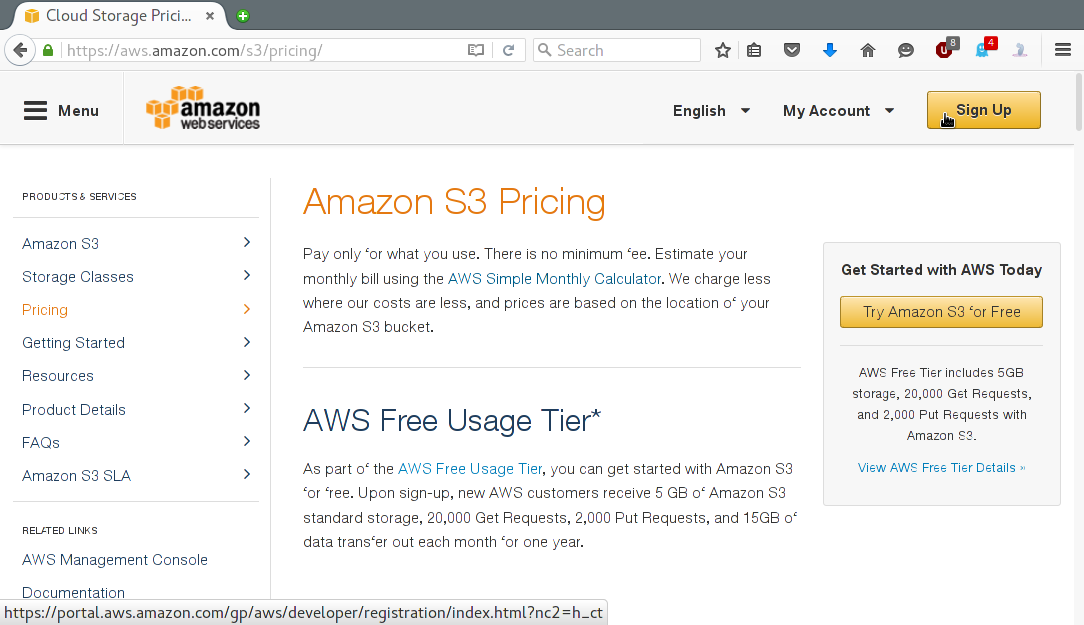
Follow the prompts, and you'll be deposited at the AWS landing page (which you can always reach by clicking the AWS box icon in the top left).
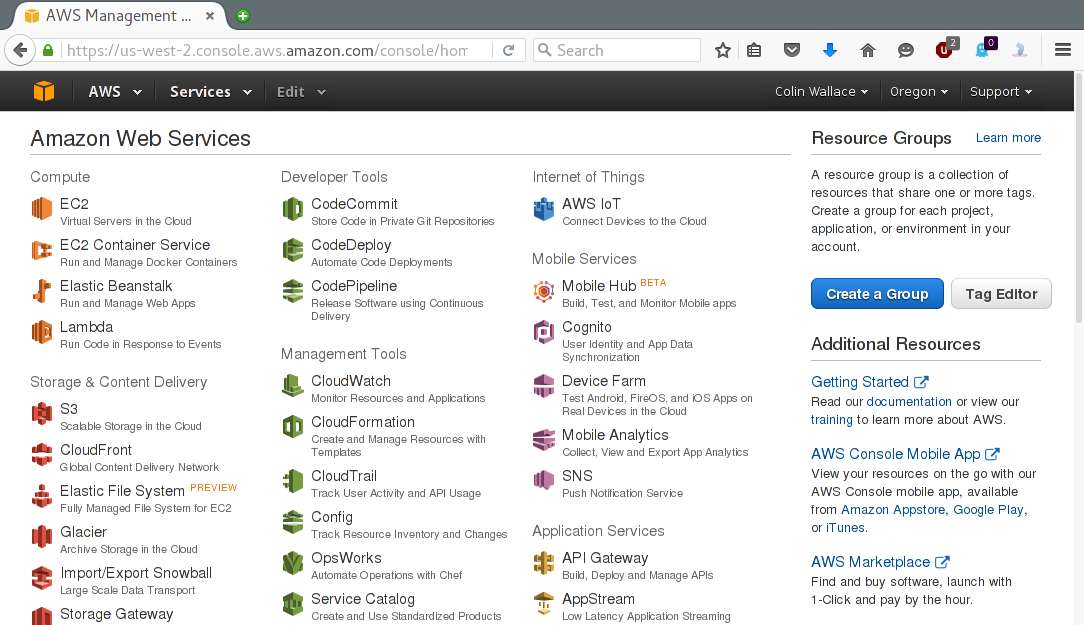
The first thing to do is to set up permissions / access keys. Click on the "Identity & Access Management" (A.K.A "IAM") link under the "Security & Identity" header. This takes you here:
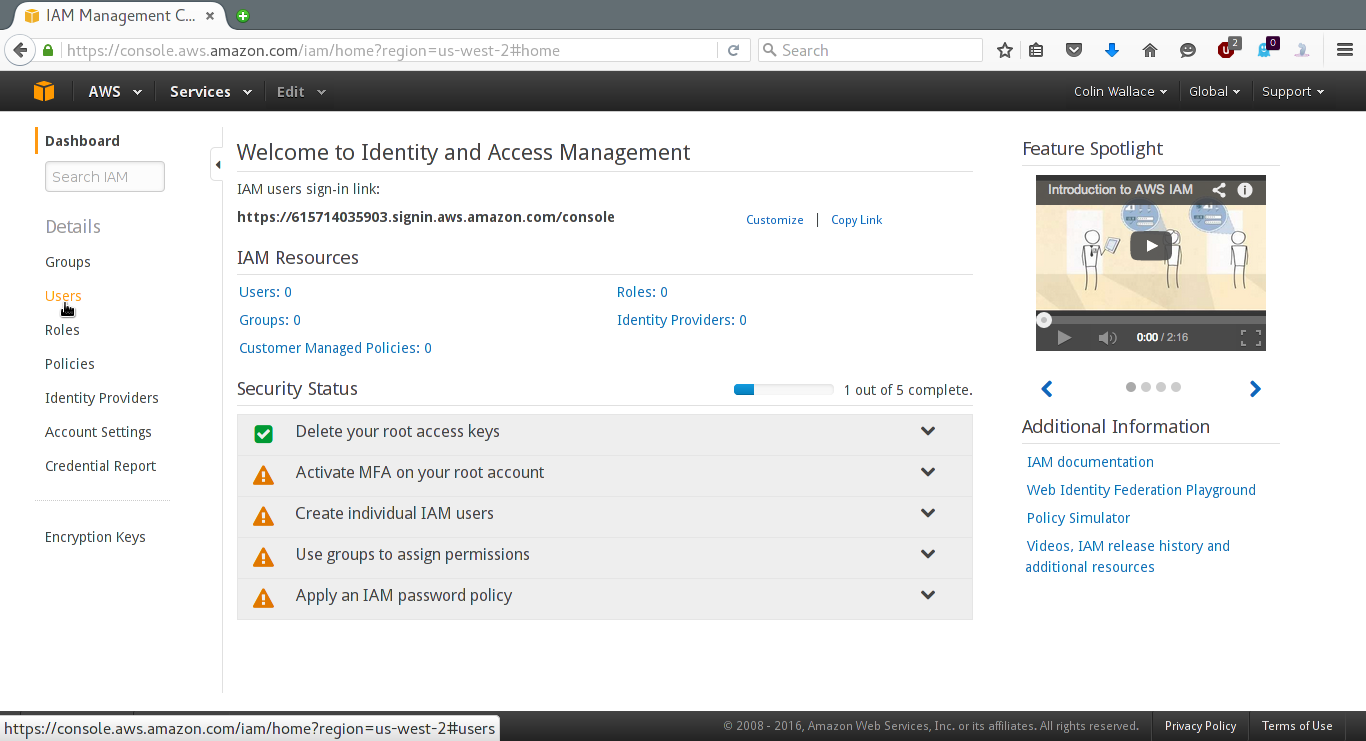
From here, click "Users":
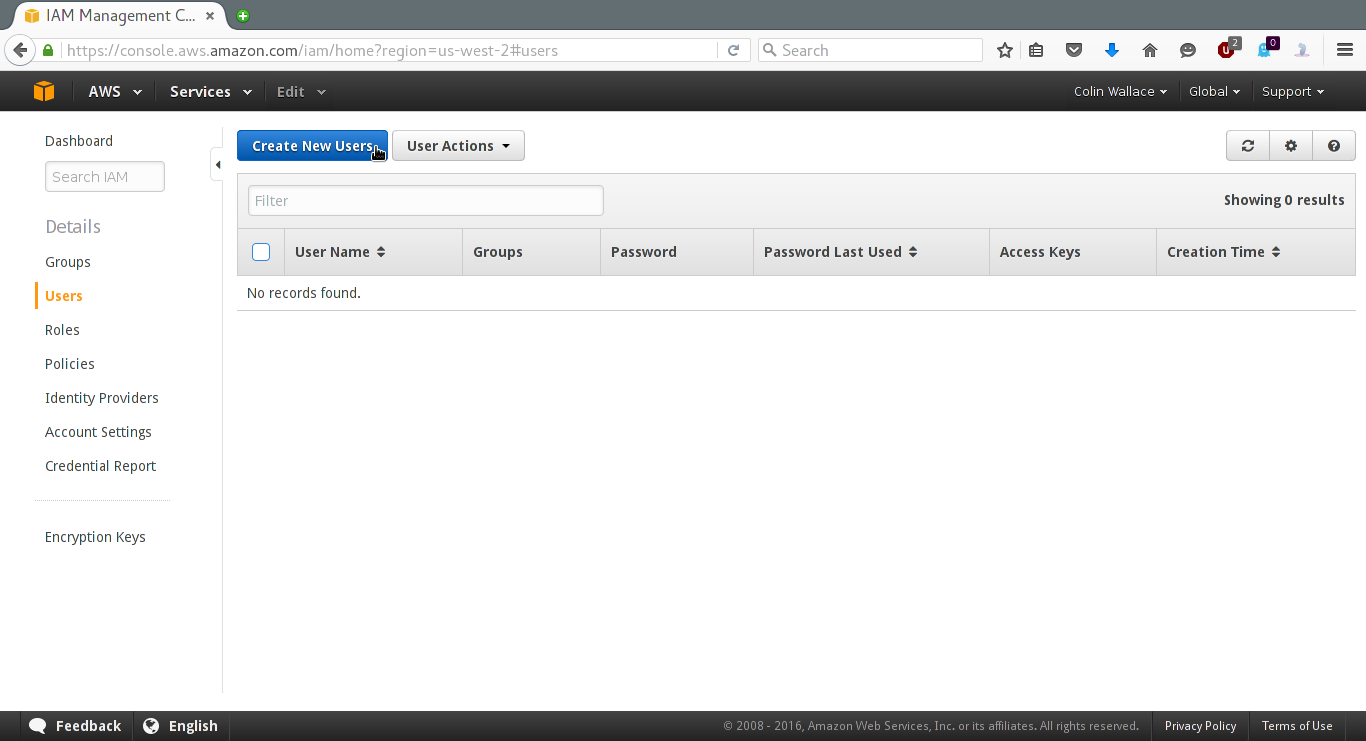
Then click "Create New Users", enter the name for your user and click "create".
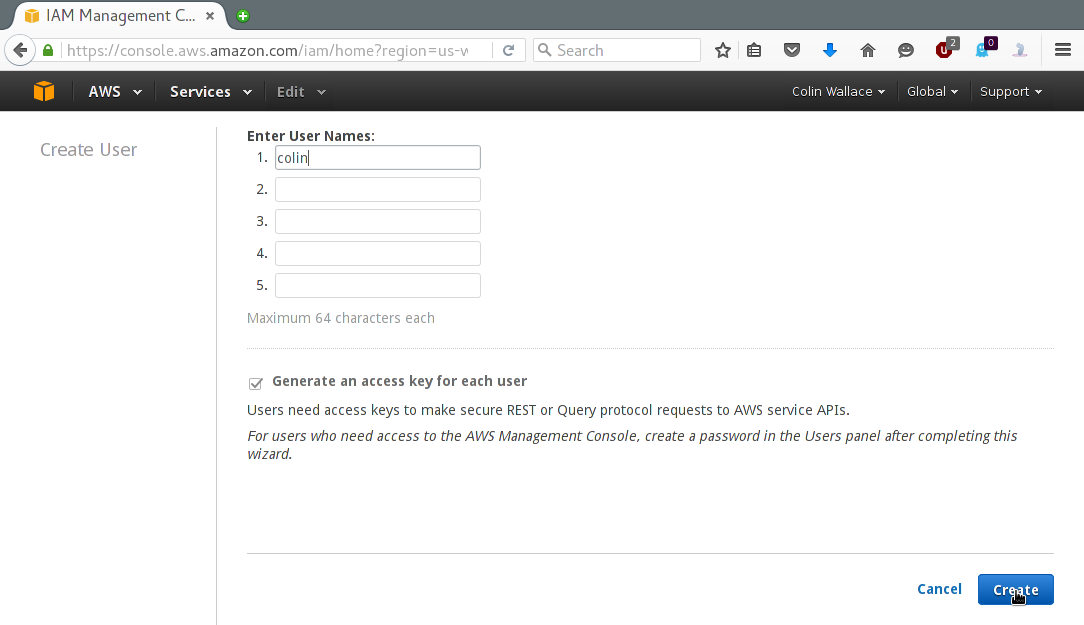
Expand the "Show User Security Credentials" dropdown and note both the Access Key ID & the Secret Access Key - these will be needed later.

Now return to the IAM homepage and again click on "Users". You should see your new user:
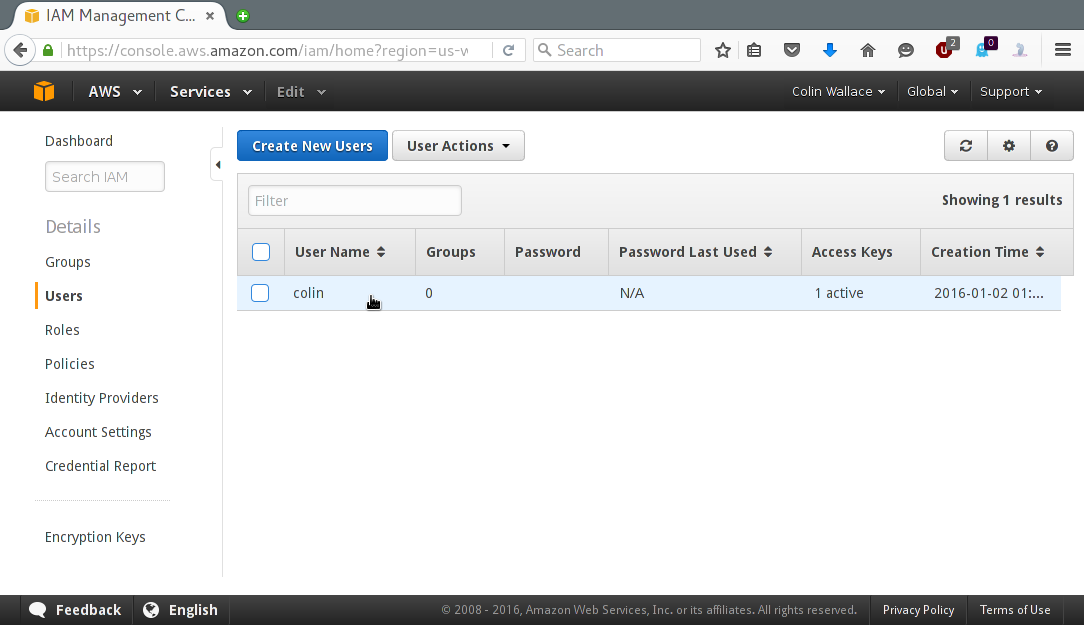
Click on the row that contains your user, and then click the "Permissions" tab:
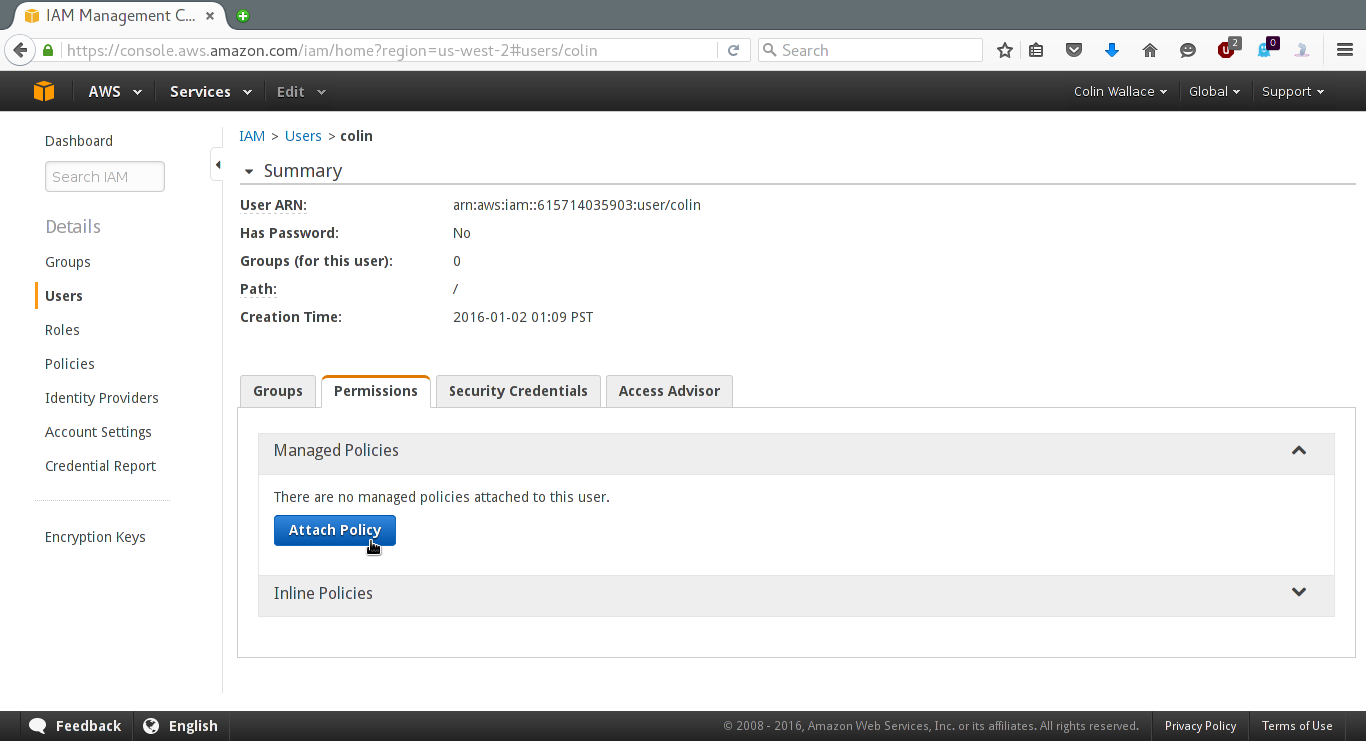
Next, click "Attach Policy" and in the filter, type "S3" and select the "AmazonS3FullAccess" policy:
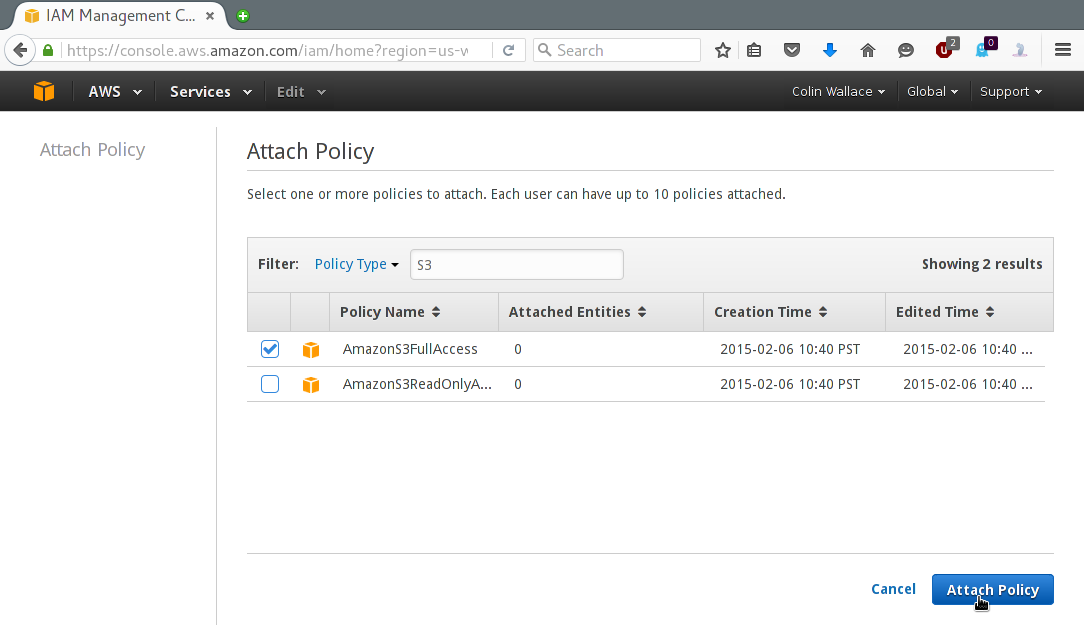
Finally, click "Attach Policy". Now you have a user with read/write access to S3 services.
Configuring Deja-Dup
You'll first have to install Deja Dup. This is included in most linux distributions.
However, you'll also need to install the python2-boto package for Amazon S3 support. Example (Arch Linux):
# pacman -S deja-dup python2-boto
Note that if you're using a Gnome environment, the application will probably be labeled "Backups" instead of "Deja-Dup". Launch the application:
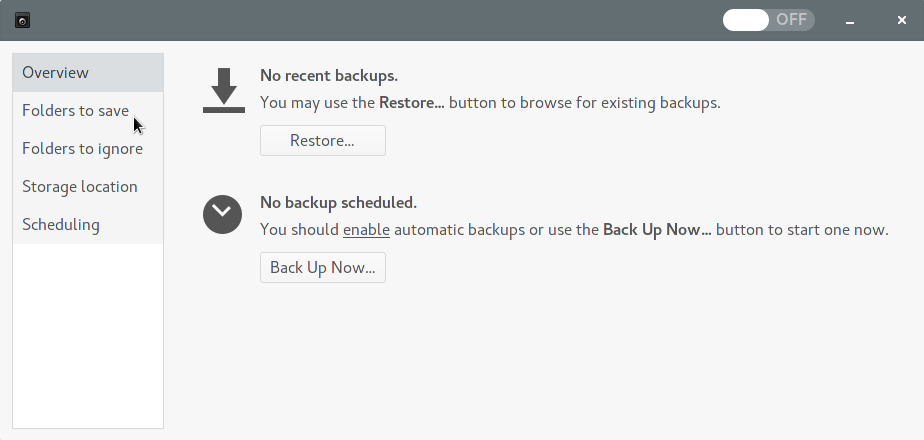
Go ahead and configure the folders you want to save and ignore (note: dot-prefixed folders are not ignored by default. You might want to think about ignoring redundant folders like ~/.cache to save space and bandwidth).
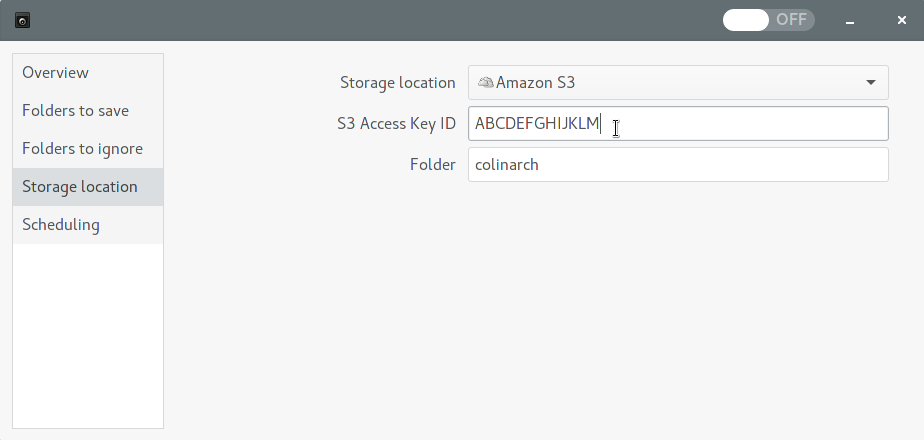
Then click the "Storage Location" section and configure it for Amazon S3. Use the S3 Access Key you noted previously.
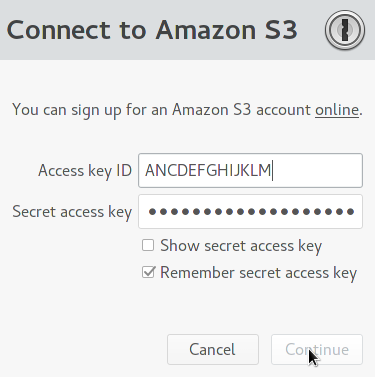
Return to the overview and click "Back Up Now..." to initiate the backup process. Here you'll have to enter the Secret Access Key as well.
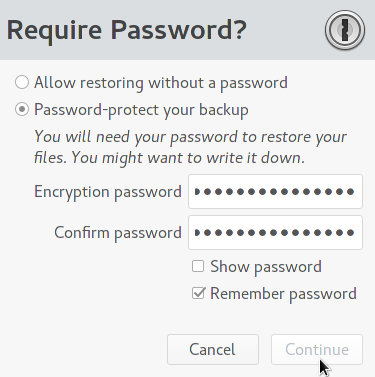
If the permissions were correctly configured, you should be prompted to choose an optional passphrase with which to encrypt your backup. My understanding is that the data is encrypted before it reaches AWS and the passphrase is never shared with Amazon, which means only you posess the key to decrypt your backup (so don't lose your key!)
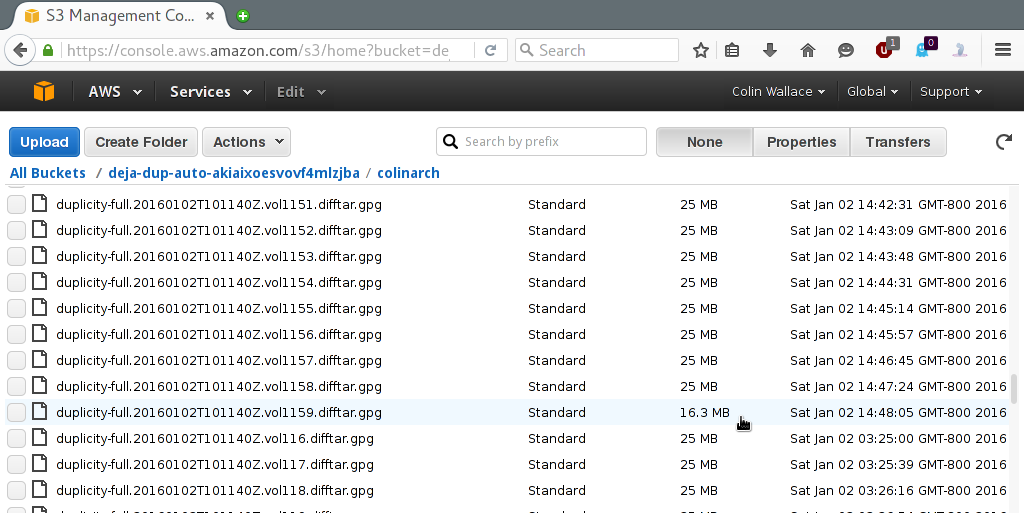
It's possible that the first backup won't show any sign of completing - the progress bar will be full, but it will still say "uploading". However, you can tell if it truly is finished by looking at the bucket in Amazon S3 and seeing that the very last difftar isn't 25 mb like all the rest:
Switching to Lower Cost Storage (Optional)
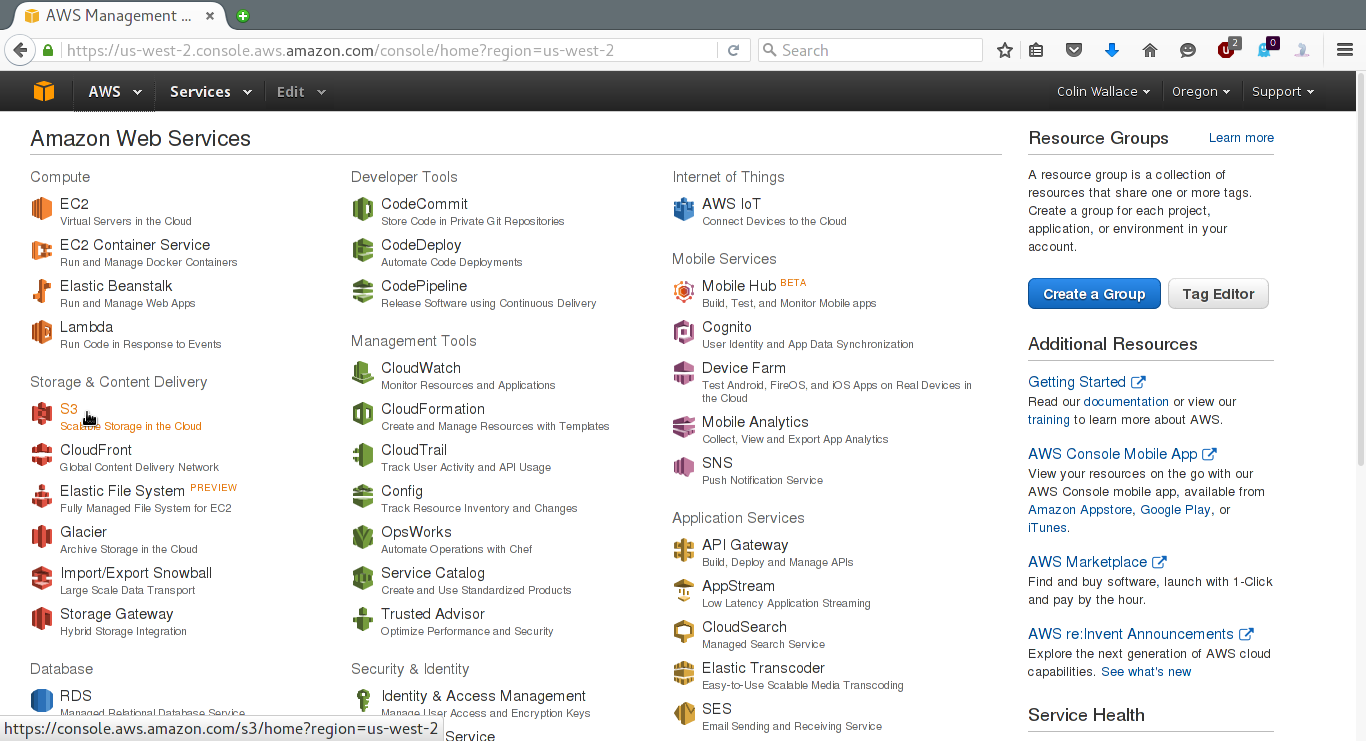
Since you won't be needing a speedy CDN for your backup, you can change some settings to decrease your AWS bill. These changes will cause accesses to your data to take 2-3 seconds instead of being near-instantaneous. To do this, return to the Console Home (or click on the "Services" dropdown at the top of the page) and click on "S3":
Click on "Properties" to see something like the following:
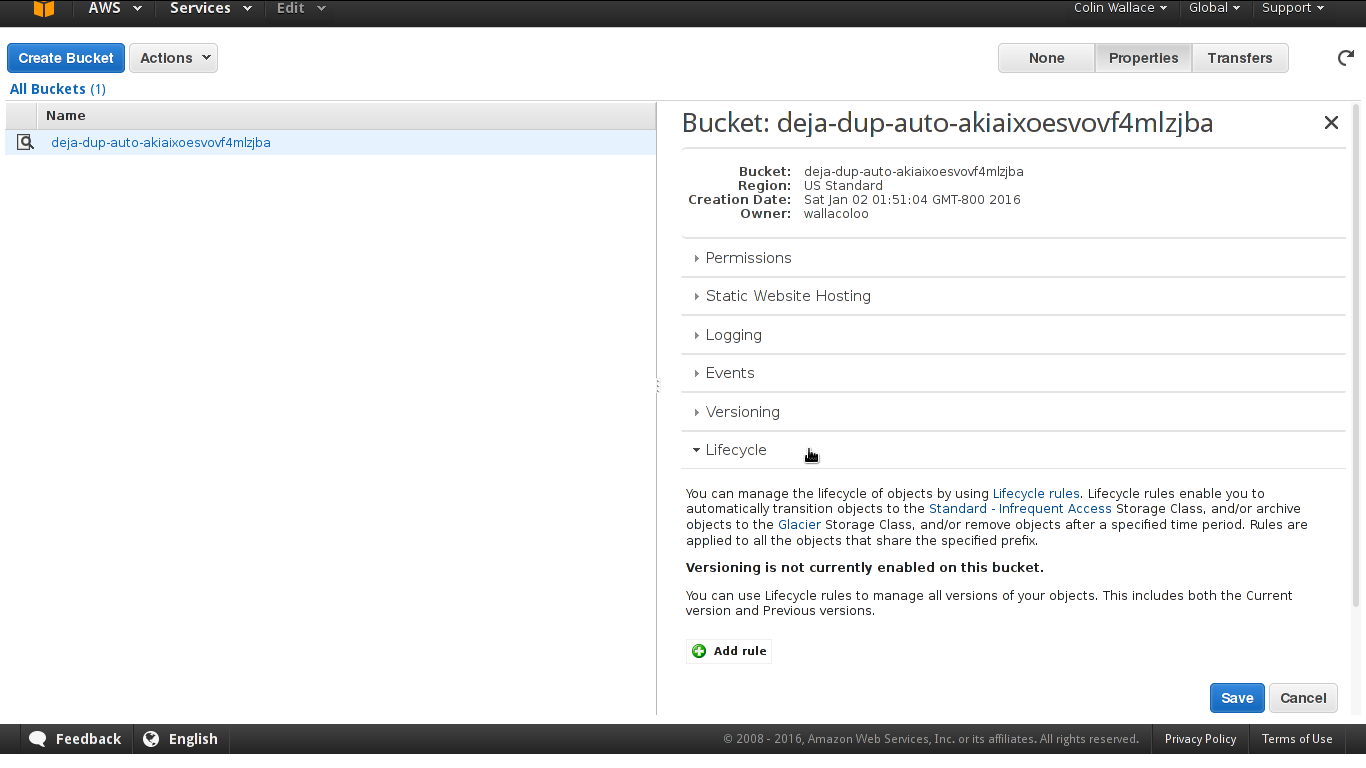
Expand the "Lifecycle" section, and then click "Add rule":
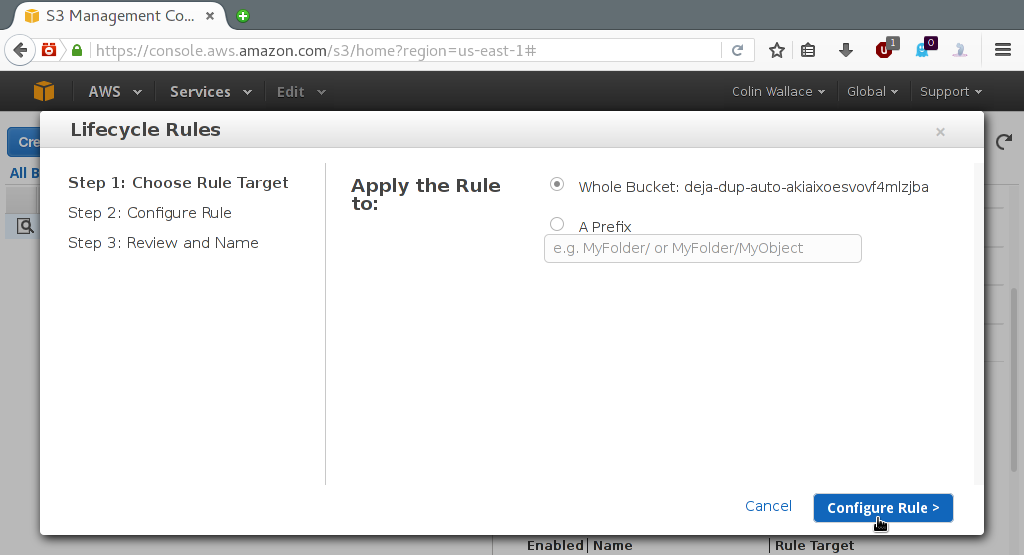
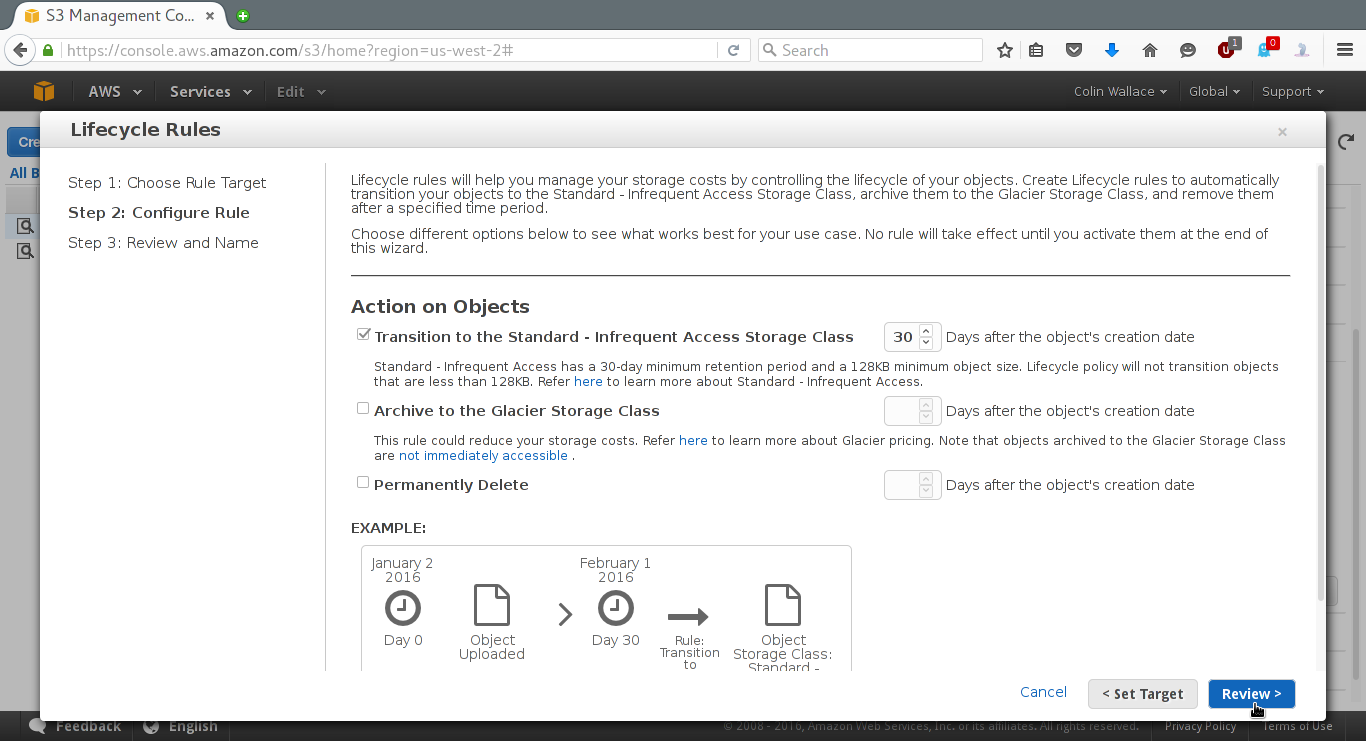
Stick with the defaults for step 1 (i.e. apply to the whole bucket) and click "Configure Rule". Check the "Transition to the Standard - Infrequent Access Storage Class" box and stick with the 30 days default (which is the minimum). You could instead check the "Archive to the Glacier Storage Class" option, which offers even cheaper storage but at the additional cost of 3-5 hours of latency and a significantly higher read cost (DON'T do this unless you're sure you understand the pricing. Here's a cautionary tale from somebody who paid $150 to restore 60 GB of data from Amazon Glacier Storage).
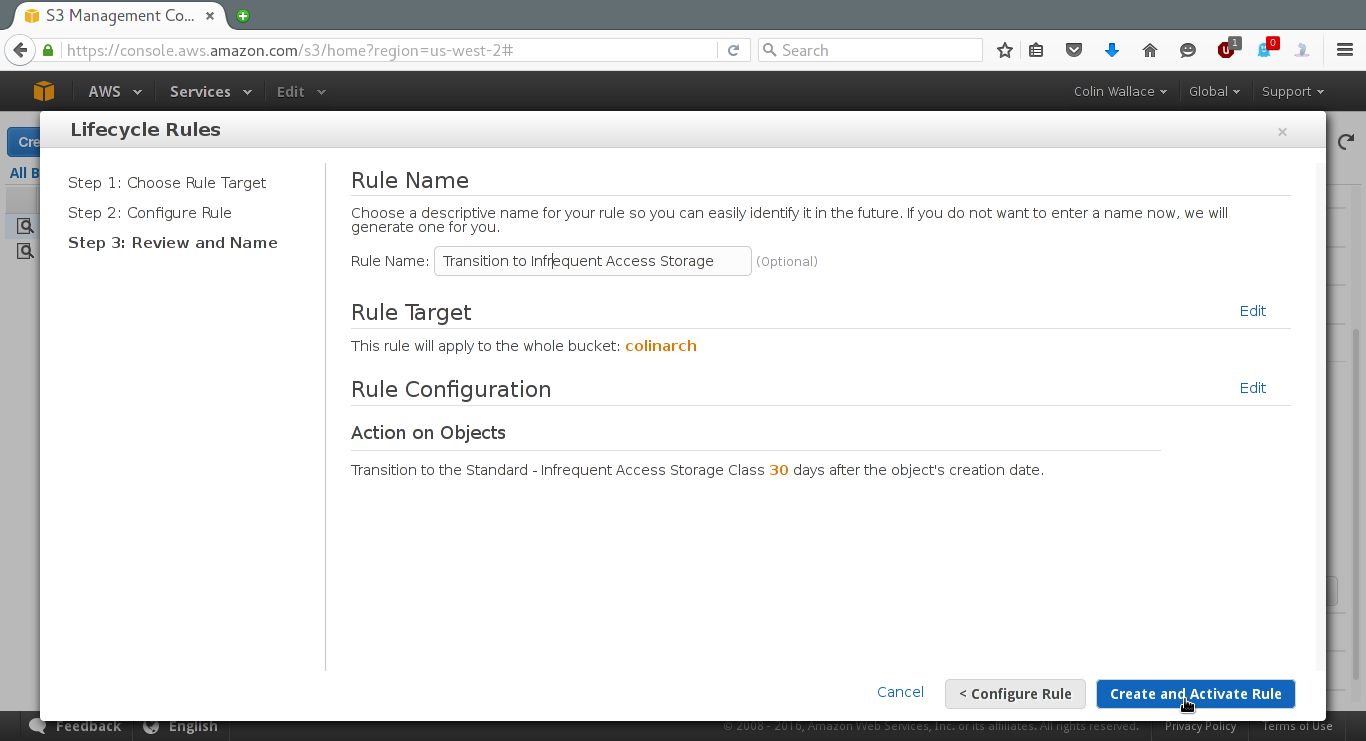
After completing the above, click "Review", give the rule some name and then click "Create and Activate Rule".
Don't forget to click "Save"!

Well that's it. The first backup may take a long time, but further backups are done incrementally. If you explore the Deja Dup tool, you'll see settings for automating further backups, etc. If you aren't happy with the default bucket name or its geographic location (US North), Juan Domenech explains how to change that over here. I hope this tutorial was helpful!